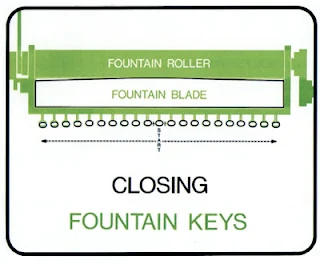
Treated properly, your fountain blades should last the lifetime of the press. Setting them improperly will destroy the blade. This in turn will never allow you to get an even setting across the length of the blade. I would like to explore a couple of principles that will help you to set this properly.
Here is the order that our press room follows when calibrating the fountain blades on our press.
1. Fill the fountain with black ink. The reason for this is that it is the easiest to see the distinction between a blade that scrapes against the metal and a solid ink pattern.
2. Electronically zero all the ink keys. If you have a remote inking system, all your ink keys should now show zero.
3. Open all the keys wide open. Start with the keys on each end of the blade and slowly work your way to the center of the blade. Your last keys to open will be the ones in the center.
4. Starting from the middle, bring your blade to the point just before it scrapes the metal. You should be able to see ink pass completely across the area of the key. For certain systems, you may need more thickness of ink on the fountain roller to have an actual zero. This requires a special micrometer to determine the ink film thickness.
5. Once finished, some fine tuning may be required. However the adjustments should be minor.
By following this procedure, you should be able to prevent buckling of the blade. The worst that can be done is to have the blade scraping against the fountain roller. Do not allow this, otherwise you will have expensive repairs to do soon and you will never be able to achieve a true zero setting. Take your time.


Comments
Post a Comment